Rinnai Ducted Air Conditioner Manual: A Comprehensive Guide
This manual provides detailed instructions for Rinnai ducted systems, covering installation, operation, maintenance, and troubleshooting, alongside resources for various Rinnai series.
Understanding Your Rinnai System
Your Rinnai ducted air conditioning system is a sophisticated climate control solution designed for efficient and comfortable heating and cooling. It utilizes reverse cycle inverter technology, offering significant energy savings compared to traditional systems. Familiarizing yourself with the core components – the indoor unit, outdoor unit, and zoning controls – is crucial for optimal performance.
Effective zoning, configured before system startup, allows independent temperature control in different areas of your home. Proper return air grille placement within conditioned spaces is vital for consistent airflow. Remember to isolate unconditioned areas by closing doors, maximizing efficiency.
Understanding the thermostat – whether the Brivis DRCI, Carrier CCP, or utilizing the Daikin ARC452A4 remote – is key to operation. The “Follow Me” feature ensures accurate temperature sensing, while regular maintenance, including filter cleaning, prevents issues like warm air or strange smells.
Rinnai ducted air conditioning systems represent a leading-edge approach to whole-home comfort, utilizing advanced inverter technology for superior efficiency and precise temperature control. These systems distribute conditioned air through a network of ducts, offering discreet and consistent heating and cooling throughout your living space.
Unlike traditional systems, Rinnai’s inverter technology adjusts cooling and heating output based on demand, minimizing energy consumption. The range includes J, Q, P, and T series, each with unique features and capabilities. Understanding your specific model is essential for optimal operation and maintenance.
This guide provides a comprehensive overview, covering everything from initial setup and zoning configuration to troubleshooting common issues like warm air, unusual odors, or water leaks. Proper installation and regular maintenance are key to maximizing the lifespan and performance of your Rinnai system.
System Components Overview
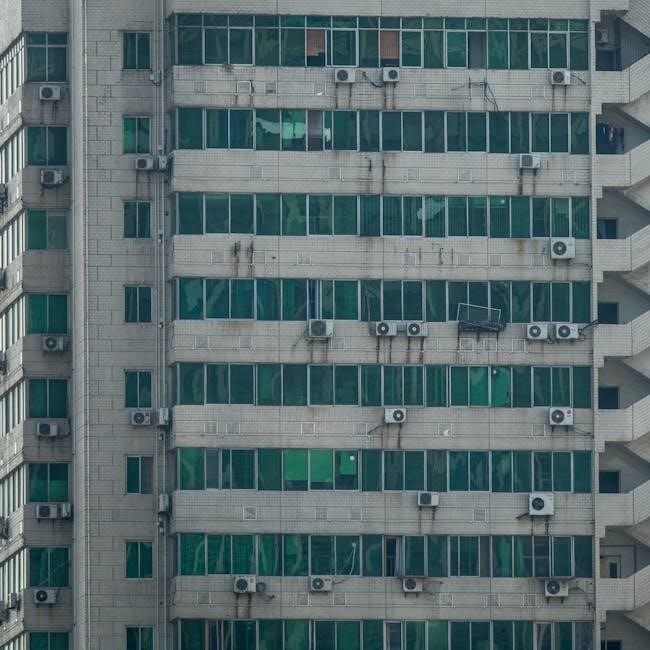
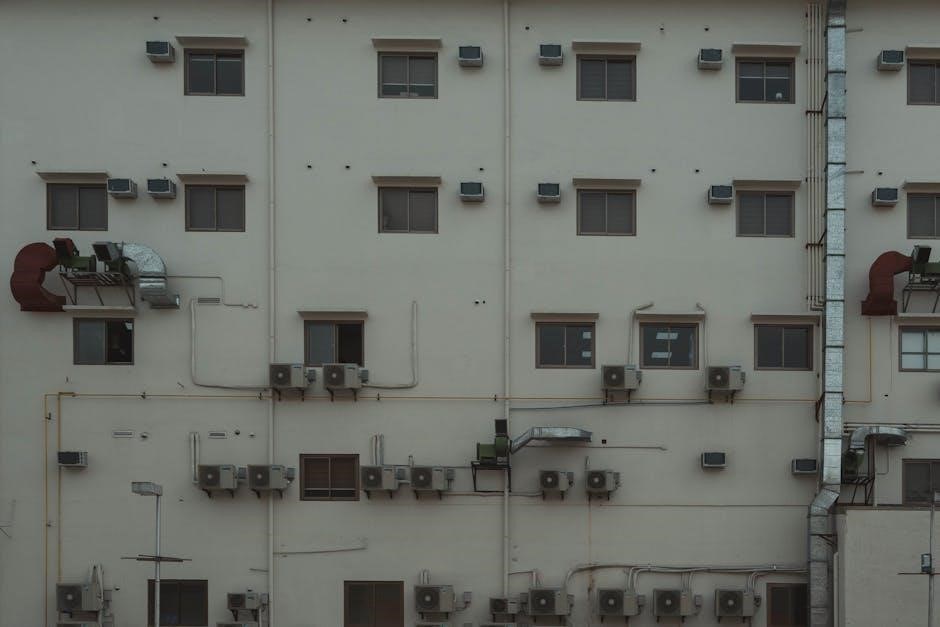
A complete Rinnai ducted air conditioning system comprises several key components working in harmony. The outdoor unit houses the compressor and condenser, responsible for heat exchange. The indoor unit, often a concealed unit, circulates the conditioned air through ductwork. Crucially, the system relies on return air grilles, typically located in common zones, to draw air back for reconditioning.
Zone controls are integral, allowing independent temperature regulation in different areas of your home. Thermostats, such as the Brivis DRCI, Carrier CCP, or controlled via a Daikin ARC452A4 remote, manage system operation. Proper placement of return air grilles and isolating unconditioned spaces are vital for efficiency.
Additional components include refrigerant lines connecting the indoor and outdoor units, and various filters requiring regular cleaning or replacement to maintain air quality and system performance. Understanding each component’s function is essential for effective troubleshooting and maintenance.
Rinnai Series: J, Q, P, and T – Key Differences
Rinnai offers several ducted air conditioning series, each with distinct features. The Rinnai J Series is a foundational model, documented in dedicated service manuals for technicians. The Q Series introduces inverter split system technology, enhancing energy efficiency and providing more precise temperature control, also supported by specific service manuals.
The P Series represents another iteration, with its own service manual outlining maintenance and repair procedures. Finally, the T Series provides air conditioning solutions, details of which are available in dedicated documentation. Understanding these series distinctions is crucial for correct servicing and part identification.
Key differences lie in efficiency ratings, technological advancements like inverter control, and specific component designs. Referencing the appropriate service manual – J, Q, P, or T Series – ensures accurate diagnosis and repair, maximizing system performance and longevity.
Installation and Setup
Proper installation and setup are vital for optimal performance of your Rinnai ducted air conditioning system. Before commencing, carefully review the initial installation checklist to ensure all components are present and ready. A crucial step involves configuring the zoning controls; set these before starting the system to define conditioned areas effectively.
Strategic placement of return air grilles is essential, typically within the common zone and part of the conditioned space. To maximize efficiency, isolate unconditioned spaces by closing doors, preventing airflow to unused areas. This zoning configuration minimizes energy waste and focuses cooling or heating where needed.
Correct installation directly impacts system efficiency and longevity. Always adhere to manufacturer guidelines and consider professional installation for complex setups.
Initial Installation Checklist
Before activating your Rinnai ducted air conditioning system, a thorough initial installation checklist is paramount. Verify all system components are delivered and undamaged, referencing the parts list in the main manual. Confirm the indoor and outdoor units are correctly positioned according to the installation guidelines, ensuring adequate space for airflow and maintenance access.
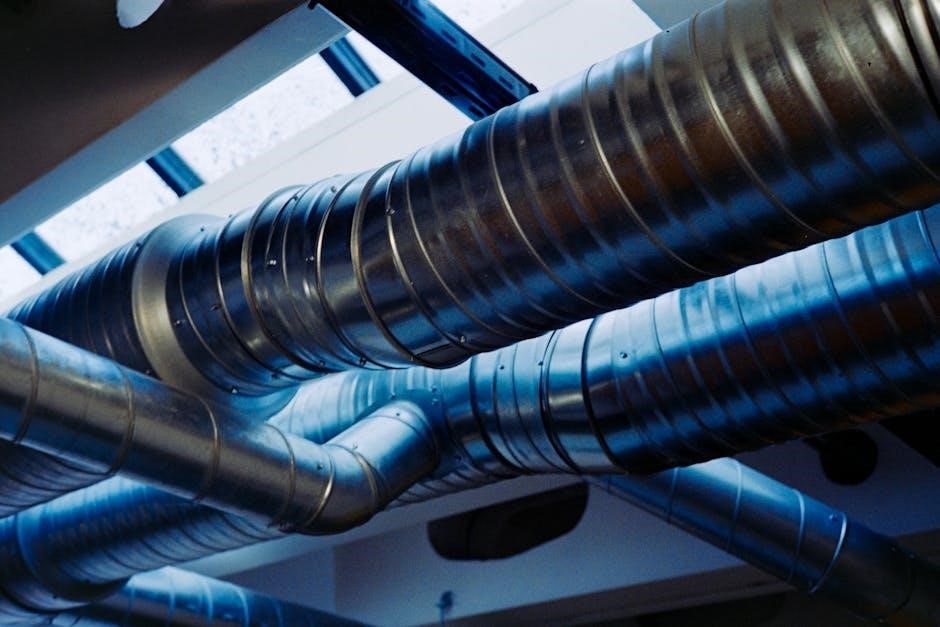
Inspect all ductwork for leaks or obstructions, sealing any gaps to prevent energy loss. Check electrical connections, ensuring proper voltage and grounding. Confirm the zoning controls are correctly wired and functioning.
Prior to operation, verify refrigerant levels are within the specified range. Finally, ensure all safety precautions are followed, and the system is registered for warranty purposes. A completed checklist guarantees a smooth and efficient start-up.
Zoning Configuration: Setting Up Zone Controls
Effective zoning configuration is crucial for optimizing comfort and energy efficiency with your Rinnai ducted system. Before starting, carefully plan your zones based on usage patterns and thermal characteristics of different areas in your home. Utilize the wired programmable thermostat (Brivis DRCI) or compatible controllers to define each zone.
Ensure each zone has dedicated dampers and sensors for independent temperature control. Set your zoning configuration with your zone controls before system activation. Properly configured zones allow for targeted heating or cooling, avoiding wasted energy in unoccupied spaces.
Remember to consider the placement of return air grilles, generally within the common zone, to ensure adequate airflow throughout the conditioned areas.
Return Air Grille Placement and Importance
Proper return air grille placement is fundamental to the performance of your Rinnai ducted air conditioning system. These grilles facilitate the circulation of air, ensuring efficient heating and cooling throughout your home. Generally, return air grilles are located within the common zone, a frequently occupied and conditioned space.
It’s vital that return air grilles are positioned within the conditioned space, not in unconditioned areas like garages or attics. This ensures the system draws air from areas already heated or cooled, maximizing efficiency. Adequate return airflow prevents pressure imbalances and optimizes system performance.
Consider the grille size and number based on room size and airflow requirements. Ensure unobstructed airflow around the grilles for optimal operation.
Isolating Unconditioned Spaces
To maximize the efficiency of your Rinnai ducted air conditioning system, it’s crucial to isolate unconditioned spaces. These are areas not intended to be heated or cooled, such as garages, attics, or storage rooms. Effectively separating these spaces prevents wasted energy and ensures optimal comfort in your living areas.
Close off all doors leading to unconditioned spaces. This simple step creates a barrier, preventing conditioned air from escaping into these areas. Seal any gaps or cracks around doors and windows to further minimize air leakage. Consider using weather stripping or door seals for a tighter closure.
By isolating these spaces, you concentrate the heating or cooling power where it’s needed most, resulting in lower energy bills and improved system performance. This practice is a key component of effective zoning configuration.
Operation and Control
Your Rinnai ducted air conditioning system offers versatile control options for personalized comfort. Operation is primarily managed through a choice of thermostats, including the Brivis DRCI wired programmable thermostat, the Carrier CCP, and utilizing the Daikin ARC452A4 split system remote controller.
Understanding each controller is key to maximizing system benefits. The wired thermostats allow for scheduled temperature adjustments, optimizing energy usage. The remote controller provides convenient, immediate adjustments from anywhere in the room. Explore the unique features of each, such as the “Follow Me” function, which ensures accurate temperature sensing near the remote itself.
Properly utilizing these controls allows you to tailor your climate, ensuring a comfortable and efficient environment throughout your home. Familiarize yourself with the specific functions of your chosen controller for optimal performance.
Using the Wired Programmable Thermostat (Brivis DRCI)
The Brivis DRCI wired programmable thermostat offers precise control over your Rinnai ducted air conditioning system. This thermostat allows you to create customized schedules, setting different temperatures for various times of the day and days of the week, maximizing energy efficiency and comfort.
Familiarize yourself with the thermostat’s interface, including the mode selection (heating, cooling, auto, fan only), temperature adjustment buttons, and scheduling options. The DRCI allows for multiple zones to be controlled independently, optimizing comfort in each area of your home.
Explore the advanced features, such as temporary overrides and vacation modes, to further tailor the system to your needs. Refer to the Brivis Inverter (DRCI) Wired Programmable Thermostat Owners Manual for detailed instructions and troubleshooting tips.
Understanding the Remote Controller (Daikin ARC452A4)
The Daikin ARC452A4 remote controller provides convenient, wireless operation of your Rinnai ducted split system air conditioner. This user-friendly device allows you to adjust temperature settings, fan speed, and operating modes (auto, cool, dry, heat, and fan only) from anywhere within range of the indoor unit.
Become acquainted with the button layout, including the power button, mode selection, temperature up/down controls, and fan speed adjustments. The remote also features a timer function for scheduling operation and a ‘Follow Me’ feature for personalized temperature control.
Consult the Daikin ARC452A4 split system air conditioner remote controller operation manual for a comprehensive guide to all its functions and settings. Proper understanding of the remote enhances your comfort and optimizes system performance.
The “Follow Me” Feature: Ensuring Accurate Temperature Control
Rinnai’s “Follow Me” feature, accessible via the Daikin ARC452A4 remote controller, dramatically improves temperature accuracy and comfort. This innovative function utilizes a sensor built into the remote itself, rather than relying solely on the indoor unit’s thermostat.
When activated, the air conditioner adjusts its output based on the remote’s current location, ensuring the temperature is precisely regulated where you are in the room. This is particularly useful in spaces with uneven temperature distribution or where you spend most of your time in a specific area.
If you’re experiencing inconsistent temperatures or your system doesn’t seem to start when needed, SOLUTION ― FOLLOW ME! This feature ensures accurate temperature control, providing a more personalized and comfortable climate.
Programmable Thermostat Operation (Carrier CCP)
The Carrier Programmable Thermostat (CCP) offers advanced control over your Rinnai ducted air conditioning system, allowing for customized scheduling to optimize comfort and energy efficiency. This user-friendly interface enables you to set different temperatures for various times of the day and days of the week.
Utilize the CCP to create personalized programs that align with your lifestyle, reducing energy consumption when you’re away or asleep. The thermostat’s programming capabilities allow for multiple setpoints, ensuring consistent comfort without manual adjustments.
Refer to the Carrier Programmable Thermostat (CCP) Owners Manual for detailed instructions on programming, overriding schedules, and accessing advanced features. Proper programming maximizes the benefits of your Rinnai system.
Maintenance and Troubleshooting
Regular maintenance is crucial for optimal performance and longevity of your Rinnai ducted air conditioning system. A consistent maintenance schedule should include routine air filter cleaning and replacement, ensuring efficient airflow and preventing strain on the system. Addressing issues promptly can prevent costly repairs.
If you experience warm air issues, investigate potential causes like dirty filters or refrigerant problems. Strange smells could indicate mold growth or electrical issues – immediate attention is advised. Water leaks or dripping often signal blocked condensate drains or refrigerant line problems.
Consult the manual for detailed troubleshooting steps. Ignoring these warning signs can exacerbate problems. Proactive maintenance and timely troubleshooting will keep your Rinnai system running smoothly.
Regular Maintenance Schedule
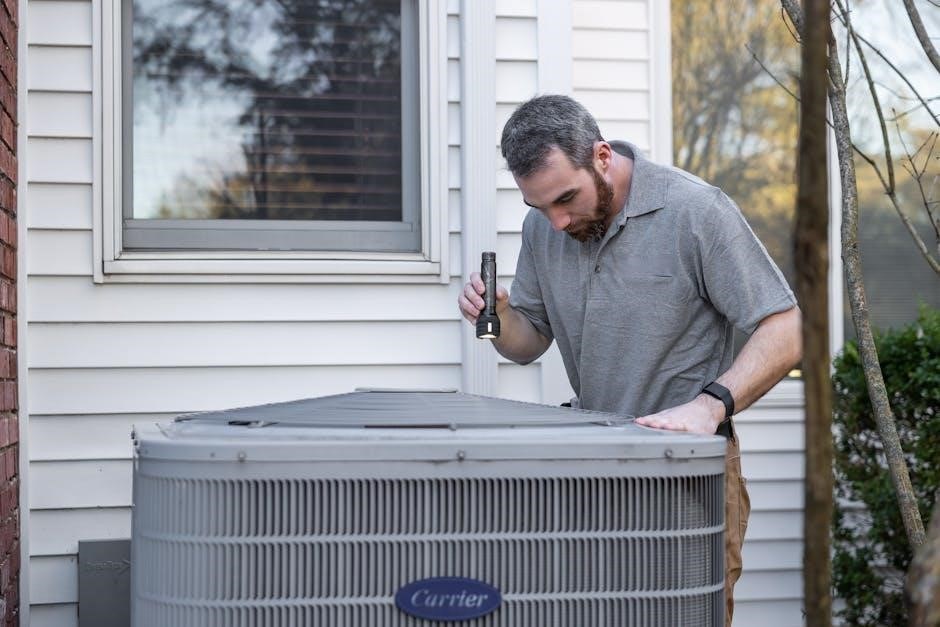
Establishing a regular maintenance schedule is vital for the efficient operation and extended lifespan of your Rinnai ducted air conditioning system. At a minimum, perform a visual inspection monthly, checking for unusual noises or airflow restrictions.
Air filter cleaning and replacement should occur every 1-3 months, depending on usage and air quality. Annual professional servicing is highly recommended, including coil cleaning, refrigerant level checks, and electrical component inspections.
Prioritize drain line clearing twice yearly to prevent water damage. Regularly inspect ductwork for leaks or damage. Following this schedule minimizes breakdowns, optimizes energy efficiency, and ensures consistent comfort. A well-maintained system saves money and extends its operational life.
Air Filter Cleaning and Replacement
Air filter cleaning and replacement are crucial for maintaining optimal performance and air quality within your Rinnai ducted system. Dirty filters restrict airflow, reducing efficiency and potentially causing system strain. The frequency depends on usage and environmental factors, but generally, check filters monthly.
Disposable filters should be replaced every 1-3 months. Washable filters can be cleaned with mild soap and water, ensuring they are completely dry before reinstallation. Locate the filter access panel, usually near the return air grille.
Always turn off the system before filter maintenance. A clean filter promotes better air quality, reduces energy consumption, and extends the life of your air conditioner. Ignoring this simple task can lead to costly repairs.
Diagnosing Warm Air Issues
Warm air blowing from your Rinnai ducted system indicates a potential problem requiring investigation. Several factors can contribute, including dirty air filters restricting airflow, reducing cooling capacity. Check and replace filters as a first step. Refrigerant leaks are another common cause, demanding professional attention.
Inspect outdoor unit coils for debris or blockage. A malfunctioning compressor or reversing valve can also result in warm air. Ensure zone dampers are correctly configured, preventing cool air from reaching intended areas.
If the issue persists, contact a qualified technician for refrigerant problem diagnosis and system evaluation. Ignoring warm air can lead to compressor failure and expensive repairs. Prompt diagnosis ensures efficient cooling and prevents further damage.
Addressing Strange Smells
Unusual odors emanating from your Rinnai ducted air conditioner often signal underlying issues needing attention. A musty smell frequently indicates mold or mildew growth within the system, particularly in the evaporator coil or drain pan. Regular cleaning and ensuring proper drainage are crucial preventative measures.
Burning smells could suggest electrical component malfunction, requiring immediate shutdown and professional inspection. Chemical odors might point to refrigerant leaks, posing health risks and demanding expert handling.
Don’t ignore these warning signs. Thoroughly investigate the source and address it promptly. Regular maintenance, including coil cleaning and filter replacement, minimizes odor development and maintains air quality. If the smell persists, consult a qualified technician for a comprehensive system check.
Dealing with Water Leaks/Dripping
Water leaks or dripping from your Rinnai ducted air conditioner are common issues, often stemming from a clogged condensate drain line. This blockage causes water to back up and overflow, potentially damaging surrounding areas. Regularly inspect and flush the drain line with a vinegar solution to prevent obstructions.
Other causes include a cracked drain pan or frozen evaporator coil. A frozen coil restricts airflow, leading to ice buildup and subsequent melting, resulting in leaks. Ensure adequate airflow by replacing air filters regularly and checking for blocked vents.
If leaks persist, immediately shut off the system and contact a qualified technician. Ignoring water damage can lead to mold growth and costly repairs. Prompt attention is crucial to protect your home and maintain system efficiency.
Advanced Topics & Service
For qualified technicians, advanced diagnostics involve understanding both air-side and refrigerant-side problems within the Rinnai system. Correct diagnosis is paramount for efficient repairs, requiring specialized knowledge and tools. Air-side issues often relate to airflow restrictions, ductwork leaks, or fan motor failures, impacting system performance.
Refrigerant problems, such as leaks or insufficient charge, necessitate careful handling and adherence to environmental regulations. Understanding CFM (Cubic Feet per Minute) and airflow calculations is vital for proper system balancing and optimization.
Specific service manuals for Rinnai J, Q, P, and T series provide detailed schematics and troubleshooting guides. These resources are essential for complex repairs and ensuring the longevity of your Rinnai ducted air conditioning system. Always prioritize safety and follow manufacturer guidelines.
Air-Side Problem Diagnosis
Diagnosing air-side issues in a Rinnai ducted system begins with assessing airflow. Restricted airflow can manifest as warm air, reduced cooling capacity, or increased energy consumption. Common culprits include dirty air filters – requiring regular cleaning or replacement – and blocked return air grilles.
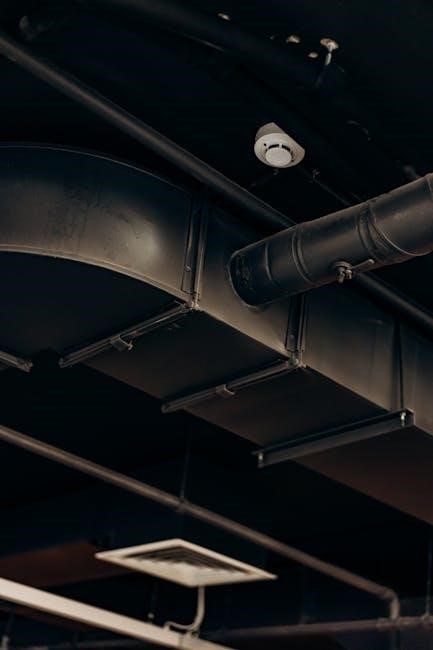
Inspect ductwork for leaks or collapses, as these significantly diminish efficiency. Verify proper fan operation; a failing fan motor will impede airflow. Ensure zoning dampers are functioning correctly, opening and closing as programmed.
Proper return air grille placement is crucial; they should be located within conditioned spaces to ensure optimal air circulation. Isolating unconditioned areas by closing doors prevents wasted energy. CFM (Cubic Feet per Minute) measurements help quantify airflow and identify imbalances.
Refrigerant Problem Diagnosis
Refrigerant issues often present as warm air blowing from vents, despite proper fan operation. A refrigerant leak is a primary concern, requiring a qualified technician for diagnosis and repair – handling refrigerants demands specialized equipment and certification.
Low refrigerant levels reduce cooling capacity and can cause the compressor to work harder, potentially leading to failure. Signs include ice formation on the evaporator coil or refrigerant lines. Correct diagnosis is vital; technicians must identify the leak source before recharging the system.
High refrigerant levels can also be detrimental, causing excessive pressure and potentially damaging the compressor. Regular system checks, as outlined in the service manuals (Rinnai J, Q, P, and T series), are crucial for preventative maintenance and early detection of refrigerant anomalies.
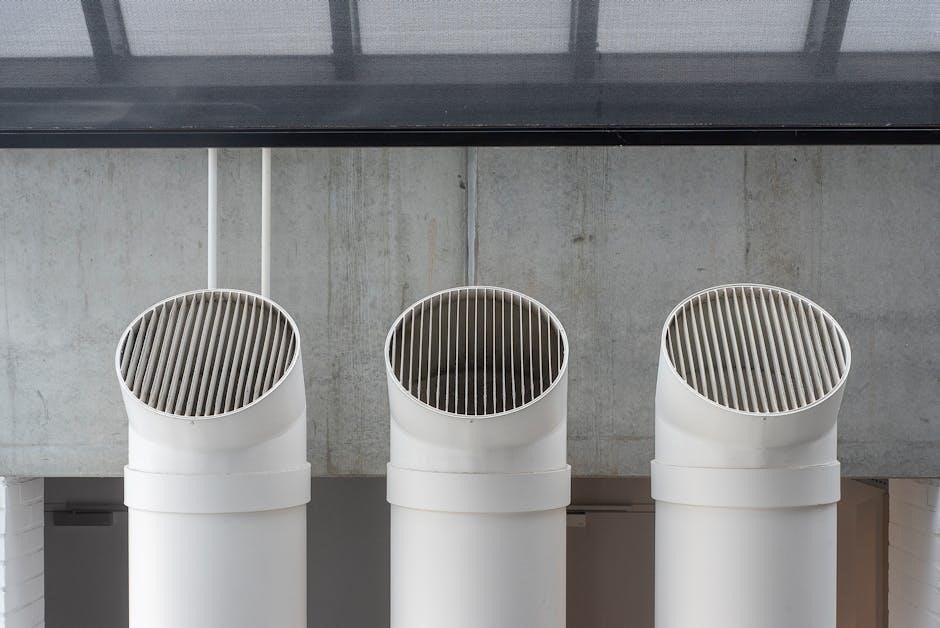
Understanding CFM (Cubic Feet per Minute) and Airflow
CFM (Cubic Feet per Minute) is a critical measurement of airflow within your Rinnai ducted system. It dictates how effectively conditioned air reaches each zone, impacting comfort and efficiency. Insufficient CFM leads to uneven temperatures and prolonged run times, while excessive CFM can cause drafts and increased energy consumption.
Proper airflow is dependent on several factors, including ductwork size, filter cleanliness, and fan speed settings. Systems are designed to deliver a specific CFM range – typically 250 to 400 CFM, often adjustable – to match the home’s cooling/heating load;
Optimizing CFM involves ensuring unobstructed airflow through vents and return grilles. Return air grille placement is vital, as it directly influences the system’s ability to draw air for conditioning. Regular maintenance, including air filter cleaning, is essential for maintaining optimal CFM.
Rinnai J Series Service Manual Information
The Rinnai J Series Air Conditioning Service Manual is a vital resource for qualified technicians performing maintenance, repairs, or diagnostics on these systems. It contains detailed schematics, troubleshooting guides, and component specifications essential for effective service.

This manual outlines procedures for air-side problem diagnosis, addressing issues like restricted airflow or faulty fan motors. It also covers refrigerant problem diagnosis, including leak detection and proper charging techniques. Understanding the system’s control logic and safety features is paramount.
Technicians should consult the J Series manual for specific error codes, wiring diagrams, and recommended replacement parts. Proper use of diagnostic tools and adherence to safety precautions are crucial when working with Rinnai air conditioning equipment. Accessing the official service manual ensures accurate and reliable repairs.
Rinnai Q Series Inverter Split System Service Manual Details
The Rinnai Q Series Inverter Split System Service Manual provides in-depth technical information for servicing these energy-efficient air conditioning units. It’s designed for qualified HVAC professionals and details the intricacies of the inverter technology used in the Q Series.
This manual focuses on diagnosing and resolving issues specific to inverter-driven compressors, including variable speed control and energy optimization features. It includes detailed wiring diagrams, component layouts, and troubleshooting flowcharts to assist technicians.
Key areas covered include refrigerant circuit analysis, PCB (Printed Circuit Board) diagnostics, and fan motor testing. Technicians will find guidance on interpreting error codes and performing system calibrations; Proper understanding of the Rinnai Q Series’ advanced features is essential for effective and safe repairs.
Rinnai P Series Service Manual Overview
The Rinnai P Series Service Manual offers comprehensive guidance for technicians maintaining and repairing these ducted air conditioning systems. It’s a crucial resource for understanding the specific components and operational characteristics of the P Series models.
This manual details procedures for diagnosing common faults, including issues with the compressor, fan motors, and control systems. It provides clear instructions on how to access and test various components, ensuring accurate troubleshooting.
Technicians will find detailed electrical schematics, parts lists, and exploded views to aid in repairs and replacements. The manual emphasizes safety precautions and proper handling of refrigerant. A thorough understanding of the Rinnai P Series’ design is vital for efficient and reliable service.
Rinnai T Series Air Conditioning Information
Information regarding the Rinnai T Series air conditioning systems is often found within broader service documentation, as dedicated manuals can be less readily available publicly. These systems represent Rinnai’s commitment to advanced climate control technology, offering efficient heating and cooling solutions.
Technicians servicing the T Series should consult comprehensive service manuals covering similar Rinnai inverter split systems, as components and diagnostic procedures share commonalities. Understanding airflow, measured in CFM (Cubic Feet per Minute), is crucial for optimal performance.
The T Series, like other Rinnai models, benefits from proper zoning configuration and regular maintenance, including air filter cleaning. Correct diagnosis of air-side and refrigerant problems is essential for effective repairs, ensuring long-term reliability and energy efficiency.
Safety and Resources
Important safety precautions must be observed when installing, operating, and servicing Rinnai ducted air conditioning systems. Always disconnect power before performing any maintenance or repairs to avoid electrical hazards. Improper installation can lead to system malfunction and potential safety risks.
Refer to the official Rinnai documentation, including owner’s manuals for thermostats like the Brivis DRCI and Carrier CCP, and remote controllers such as the Daikin ARC452A4, for detailed operating instructions. Utilize qualified technicians for complex repairs, especially those involving refrigerant.
Resources like service manuals for the J, Q, and P series provide valuable diagnostic information. Prioritize safety by isolating unconditioned spaces and ensuring proper ventilation. Remember, a correctly maintained system operates safely and efficiently.
Important Safety Precautions
Prioritize safety when working with your Rinnai ducted air conditioning system. Always disconnect the power supply before undertaking any maintenance, repairs, or filter changes to prevent electrical shock. Improper installation or modification can create hazardous conditions and void warranties.
Ensure adequate ventilation during operation and servicing. Never attempt to repair refrigerant lines or components – these tasks require a licensed technician due to the potential for harmful exposure. Regularly inspect wiring and connections for damage.
Isolate unconditioned spaces by closing doors to prevent unnecessary energy consumption and maintain optimal system performance. Refer to the manuals for your specific thermostat (Brivis DRCI, Carrier CCP) and remote (Daikin ARC452A4) for safe operating procedures.